Fold into a triangle (make sure all your edges line up!)
Fold another triangle, now Cut on the long edge where it is not connected. cut 3 strips, barely to the edge.
Should look like this once you are done cutting
Fold out the paper!
take inner strip and tape the 2 sides together
flip over, and tape middle strips together.
Flip over again, tape the last remaining edges together. Do this 4 more times.
Staple 1st 3 "snowflake arms" together.
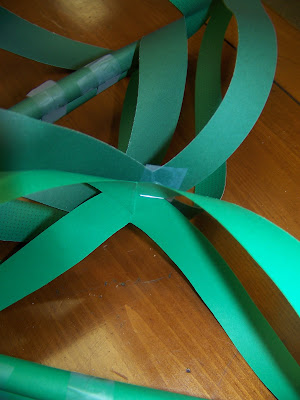
this is how the edges should line up before you staple!
This is what the top of your snowflake will look like! you are almost done!!!
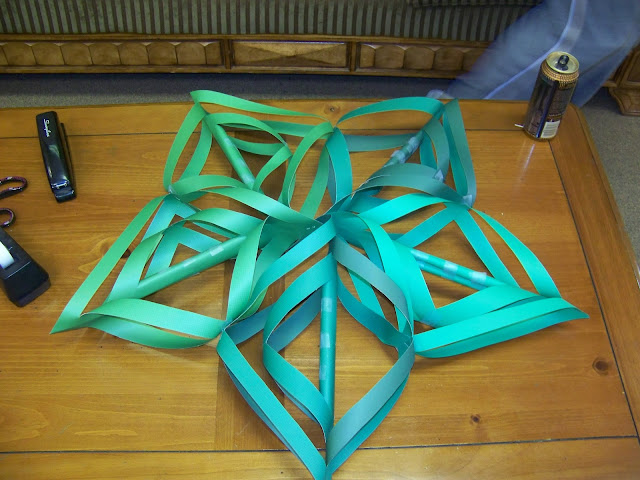
Staple 4th and 5th arms to the 1st 3. on alternate sides, and then staple arms together.
Voila! you are done!
hole punch the top, grab some ribbon and hang your awesome new snowflake up!


No comments:
Post a Comment